Start by finding your form in the “Forms Library”.
Click “Transactions” and then “Forms Library” on the left.
Find and click on the form you want to program.

GENERAL
You can edit basic information (Name, Status, Active or Inactive, and Groups) of the form here.
Name
Status - Active, Inactive or Deleted
Groups - You may add group(s) to organize your forms. Groups will for Wizard Answers
Vendors & Contacts: Use the + or – icons to add or remove vendors and contacts from the form.
Once added, select which contacts will act as signers. You may add as many signers as needed for the form.
From this section, you can also:
Download a copy of the form
View the date and time the form was created and last updated
When you’ve finished making changes, click Save to apply them.

Click 
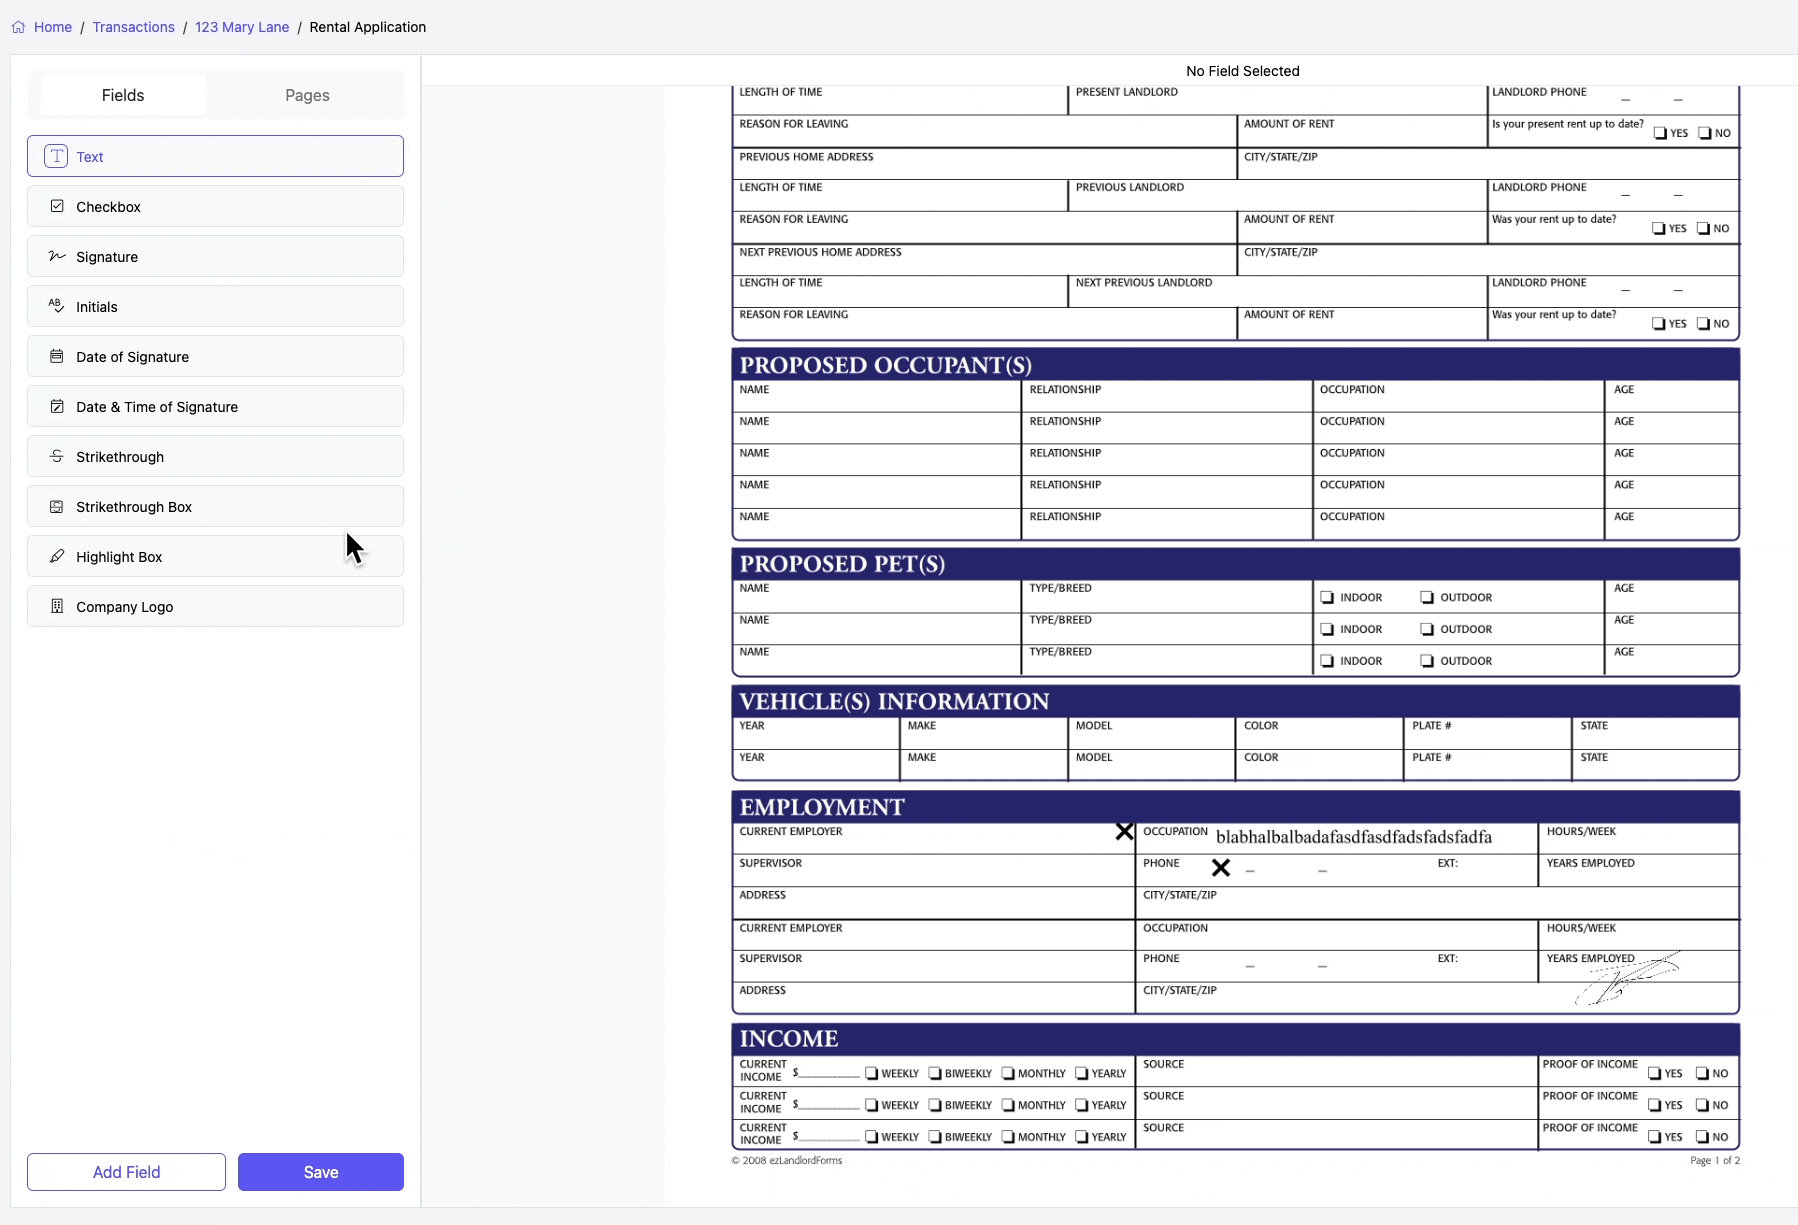
This is where you will add and assign the fields of your form.
Document Editor Overview
The document editor is organized into three main panels:

Left Panel (#1): Fields, Pages, and Save
- Fields tab:
- Allows you to select the type of field to add to the document. You can drag and drop the field directly onto the document, or you can click Add Field.
- Pages tab
- Provides an overview of all document pages. Clicking on a page updates the Middle Panel (#2), the document viewer.

- Save button:
- Saves the document. Since the document editor does not autosave, it’s important to click Save frequently to avoid losing your progress if you leave the page. Note that there is no undo button, but you can refresh the browser to revert the document to its last saved state.
Middle Panel #2: The document viewer
- Displays the document and all added fields. All pages of the document are loaded, allowing you to scroll through and view them.
Right Panel #3: Field assignment and various actions.
Zooming In and Out
To make detailed adjustments or review the document more closely, use the zoom controls located in the right panel. You can click on the plus (+) or minus (-) icons to zoom in and out. Zooming in allows for precise field placements and alignment, while zooming out offers a broader view of the entire document. When zoomed in, use the horizontal and vertical scroll bars to navigate throughout the page.

Adding a Field
There are two ways to add a field to the document.
1) Drag and drop a field from the Left Panel directly onto the document.

2) Click the desired field, select Add Field at the bottom, and it will be added to the top of the document.

Moving a Field
Click and drag the four arrows icon to move the field. As you drag, the original placement will remain visible for reference. Release the icon to confirm the new location. For precise adjustments, you can also use the arrow keys on your keyboard to move the field one pixel at a time, ensuring exact placement.


Resizing a Field
Click and drag the two arrows icon to adjust the width of the field. Release the icon to confirm the new size


Multi-Select Fields
You can quickly select and edit multiple fields at once.
To do this:
- Click the multi-select icon in the top-right panel (as shown in the GIF below).
- Click and drag your mouse over the fields you want to select, like taking a screenshot. Make sure to cover at least half of each field you want to include.
- The number of selected fields will show at the top of the page.
Once you’ve selected the fields, you can:
- Delete the fields.
- Update font, color, bold, italics, justification, or signing behavior.
- Copy to All Pages to duplicate the selected fields across every page of the document.
- Copy/Paste selected fields using the options in the right panel.
- Duplicate the selected fields on the same page.
- Split the selected fields to cut it in half (useful for breaking up larger text fields).

Deleting a Field
To delete a field from your document, select it, then click the Delete button at the top of the document viewer.

Formatting a Field
When you select a field, you use the right panel to update the font type, size, style, and color.

Converting a Field
You can change a field type to a different type by selecting the dropdown in the right panel. This will update the field to the chosen field type.

Copying a Field
You can copy a field and paste it into the document by following these steps:
- Select the field you want to copy.
- Click the Copy icon.
- Then click the Paste icon and place the copied field by clicking where you want it to appear on the document.
This process allows for easy duplication of fields throughout your document.

Typing in a Text Box
Click inside a text box to start typing.

Adding Multiple Lines for Text
Select a text box, then click the plus icon to add an additional line. Use your keyboard arrow keys to adjust the alignment of each new line. You can add as many lines as needed. Line numbers will appear to the left of each line for reference, but these numbers will not appear on the final rendered document.
As you type, the text will automatically continue to the next line.


Mapping a Text Box to Transaction Information
When a text box has been added, you can assign it to autofill transaction information, such as financial information, a specific date, contact, and property information.
1) Click on the text box to select it.
2) Select Assign, and choose what you want the text mapped to. Click Save.

Changing or Unassigning a Mapped Field
To change a previously assigned field, click on the field to select it, then click Re-assign in the right panel and choose the new item you want to map it to. Then click Save to update the field.

To unassign a text box, click inside the text box to open the field information. Click Unassign Field and choose Yes. This will convert the mapped field to a blank text box that you can type in.

Adding a Checkbox
Drag and drop the checkbox onto the page. To toggle on the checkmark yourself, double-click the checkmark to turn it on or off.

Or, click Checkbox, then Add Field and use the four arrows to move the checkbox to where you want it.

Adding Signatures
Add a signature field onto the document, by drag and drop or by clicking Add Field. Then, select the Assign dropdown and choose the signer. If enabled by your Broker, the signature field will also include the timestamp, which will display below the signature line.


Adding Initials
Drag and drop or click Add Field for Initials. Then, select the Assign dropdown and choose the signer.
If enabled by your Broker, the initial field will also include the timestamp, which will display below the initial line.


Adding Date of Signature or Date & Time of Signature
By default, the date and time are embedded within every initial and signature. This is a setting that the brokerage can configure. If your document requires an additional spot for the Date or Date & Time, you can add them separately.
The date of signature and date & time of signature options are not the signatures. They display the date or date and time when the signer signs the document.
Signer Options
By default, all text boxes and checkboxes are set to Fill Out Now, meaning you fill them out before sending the document for signature. If you want the signer to complete the fields or checkboxes, adjust the Signer Options to either Required for Signer or Optional for Signer. You can also make initials optional using the Signer Options. To do this, select the field, then choose Optional or Required for Signer.
Please note that if there are any optional text boxes for the signer to fill in, they will all be assigned to Signer 1 on the signature request.


Adding a Strikethrough Box
Adding a Highlight Box
Select Add and choose Highlight Box. A highlight box will appear, allowing you to highlight sections of text.

For questions, please email Customer Success via Support@TotalBrokerage.com.