User Fields allow one to customize the functionality of TotalBrokerage.
Here, Brokerage Managers can customize everything from Activity notes to Vendor details.
The User Fields are based on which plan of TotalBrokerage you may have.
If you would like to upgrade, please email Support@TotalBrokerage.com.
Go to “Setup” and then “User Fields” from your dashboard.

In order to edit or create new user fields, click on the Brokerage name, Office, or Account you want to edit them for.
- Editing them for the Brokerage will make it available to everyone in your Brokerage.
- Editing them for a specific Office will only allow agents in that office to see the changes.
- Editing them for a specific Account will only allow that agent to see the changes.
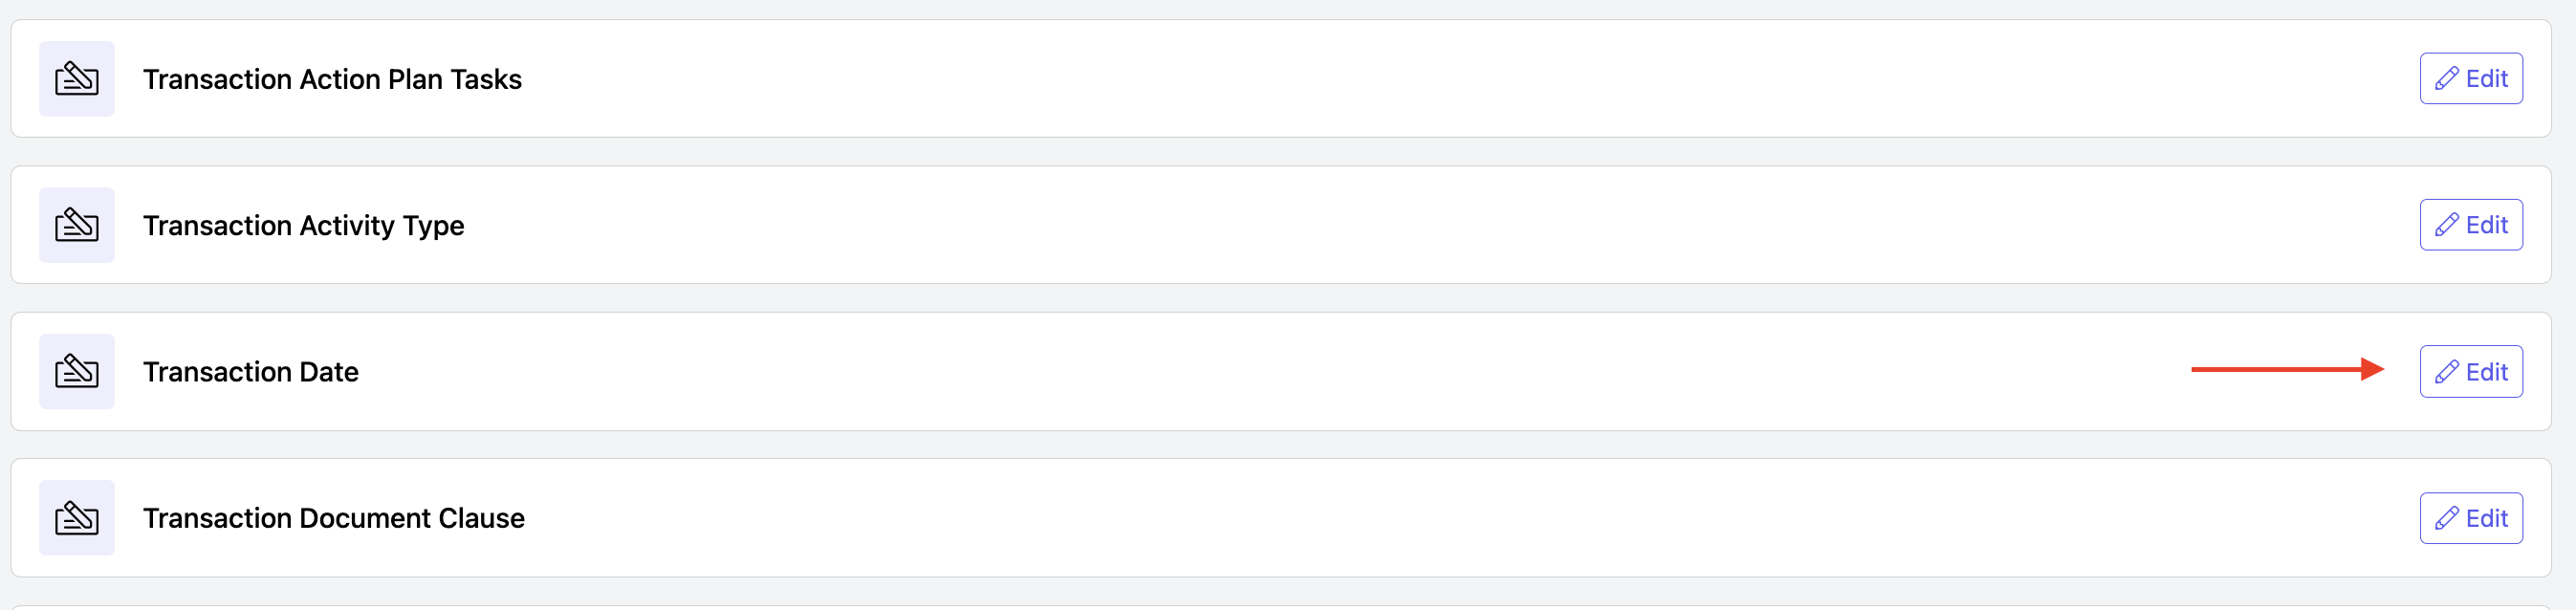
Then click on the “Edit” button next to the field type to View or Make Changes.
BROKERAGE USER FIELDS


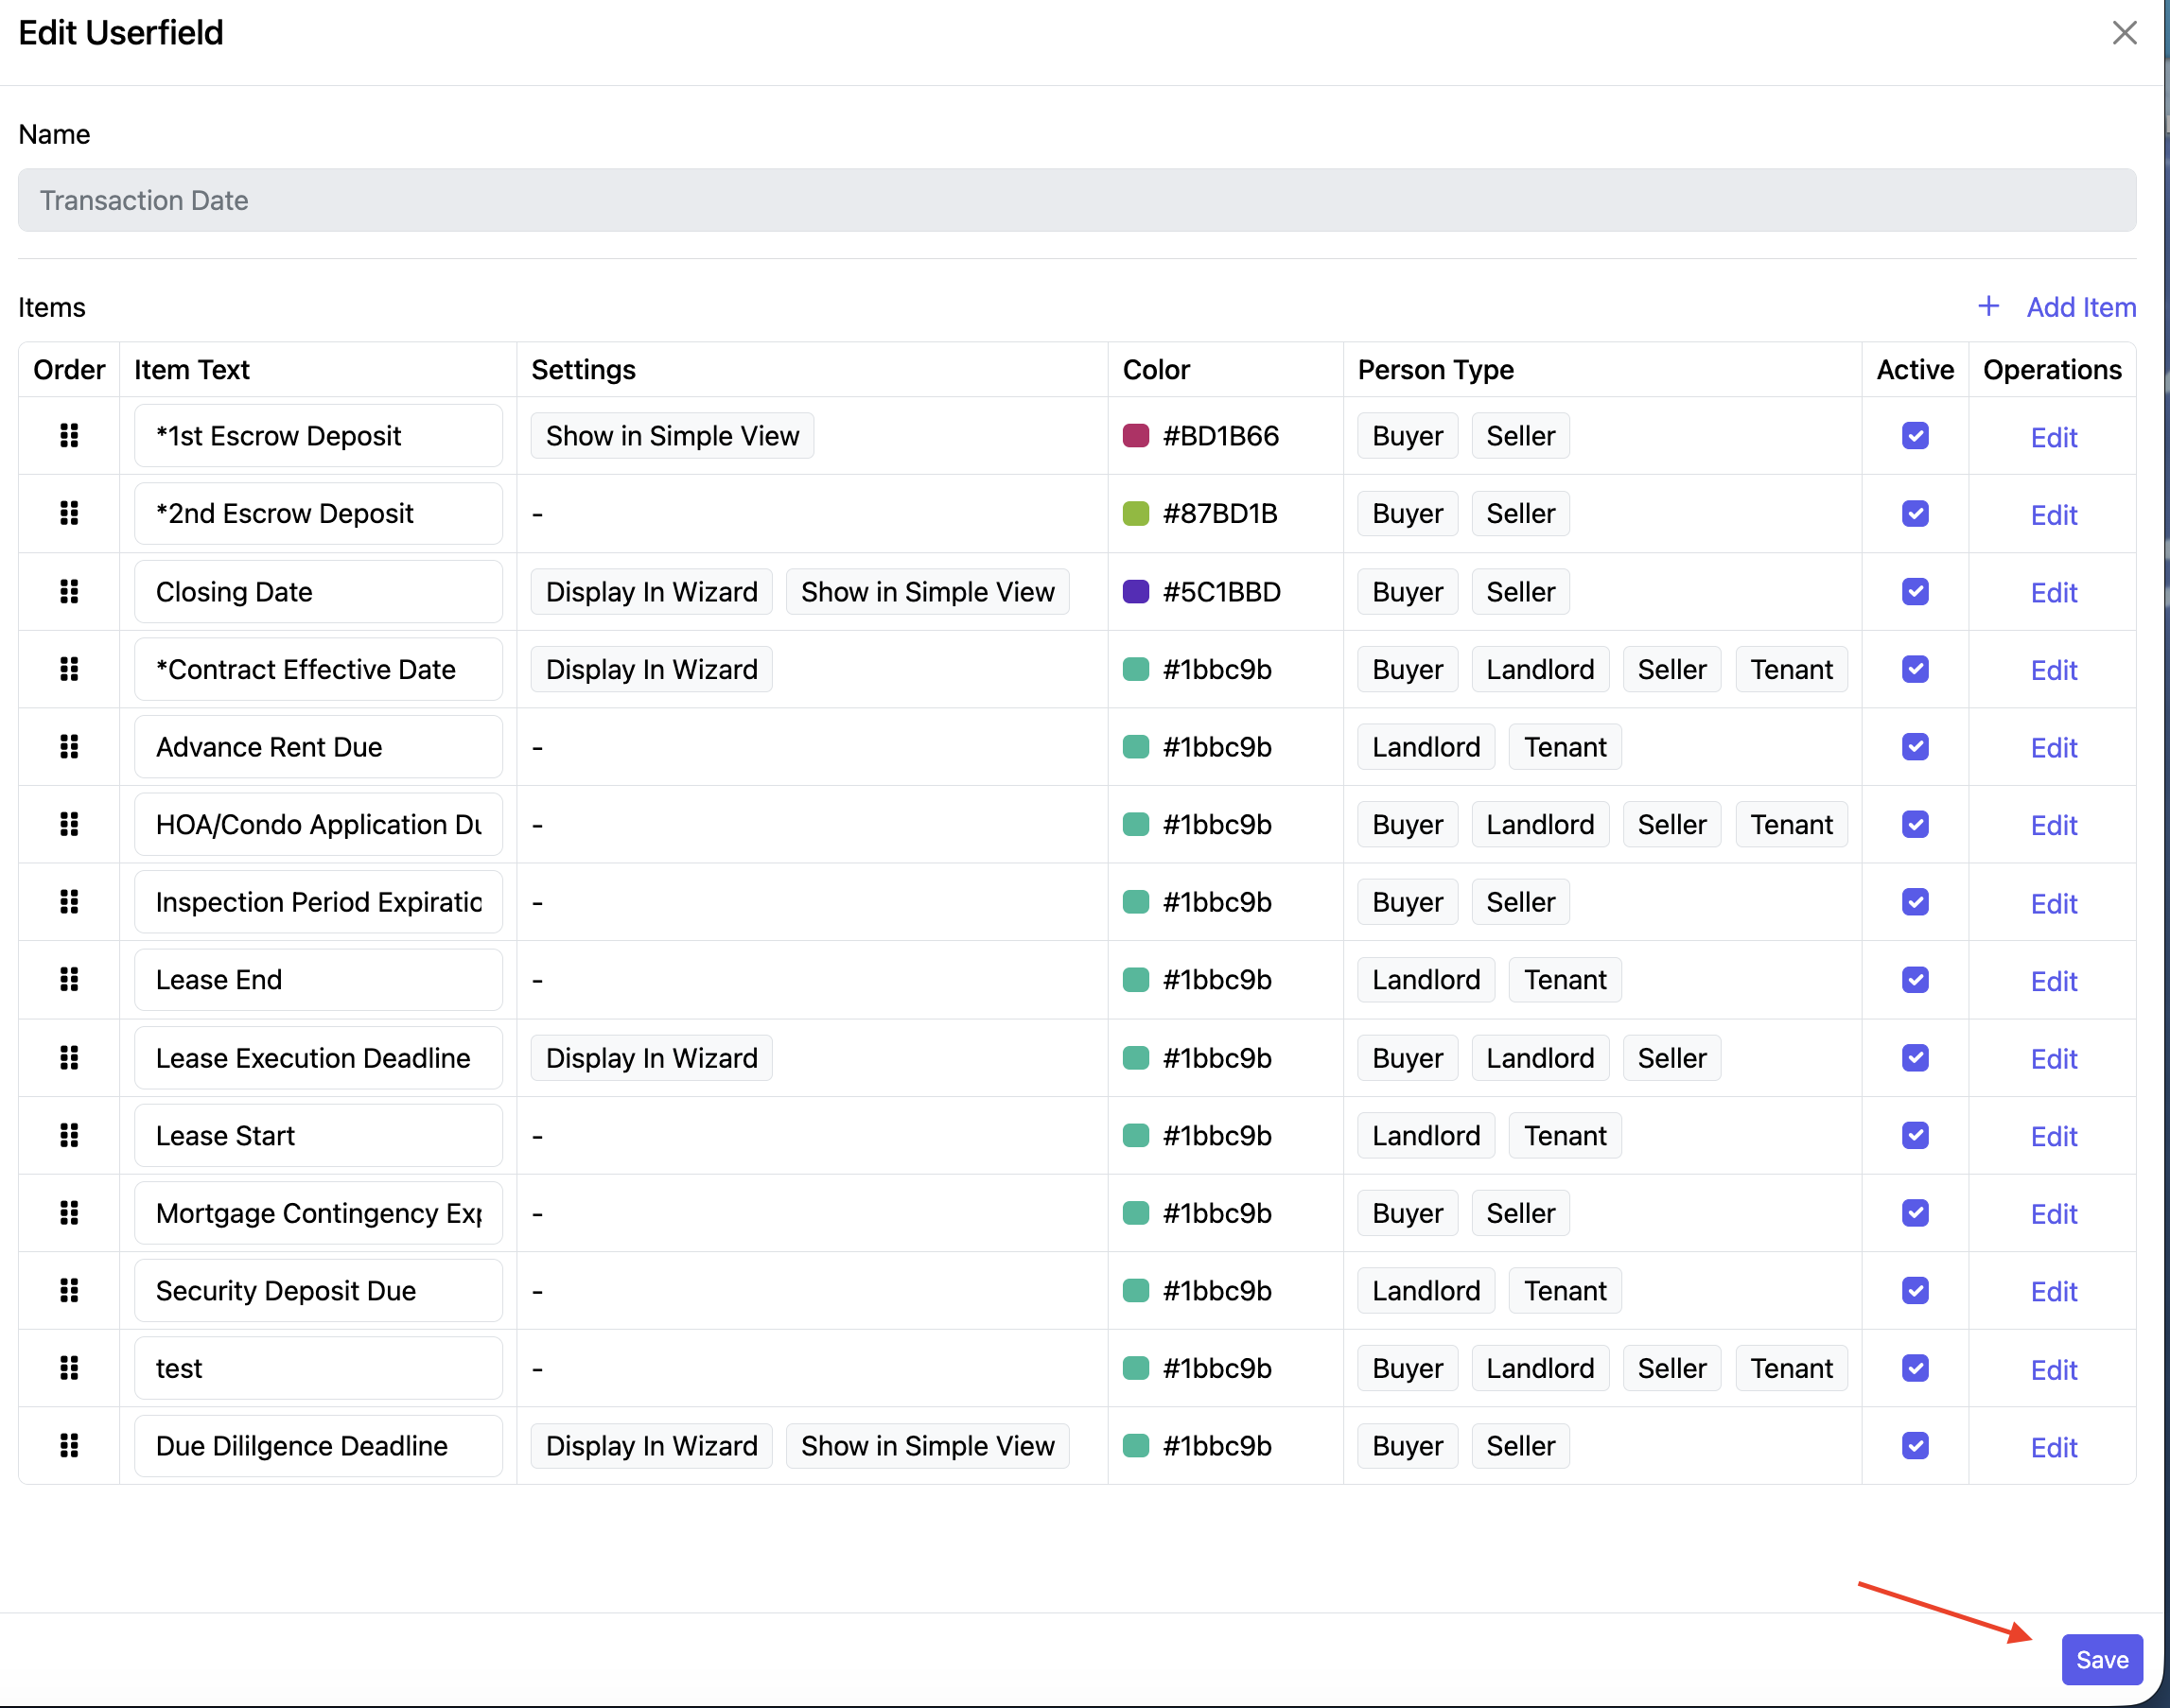
As an Example, we clicked Edit for Transaction Date.
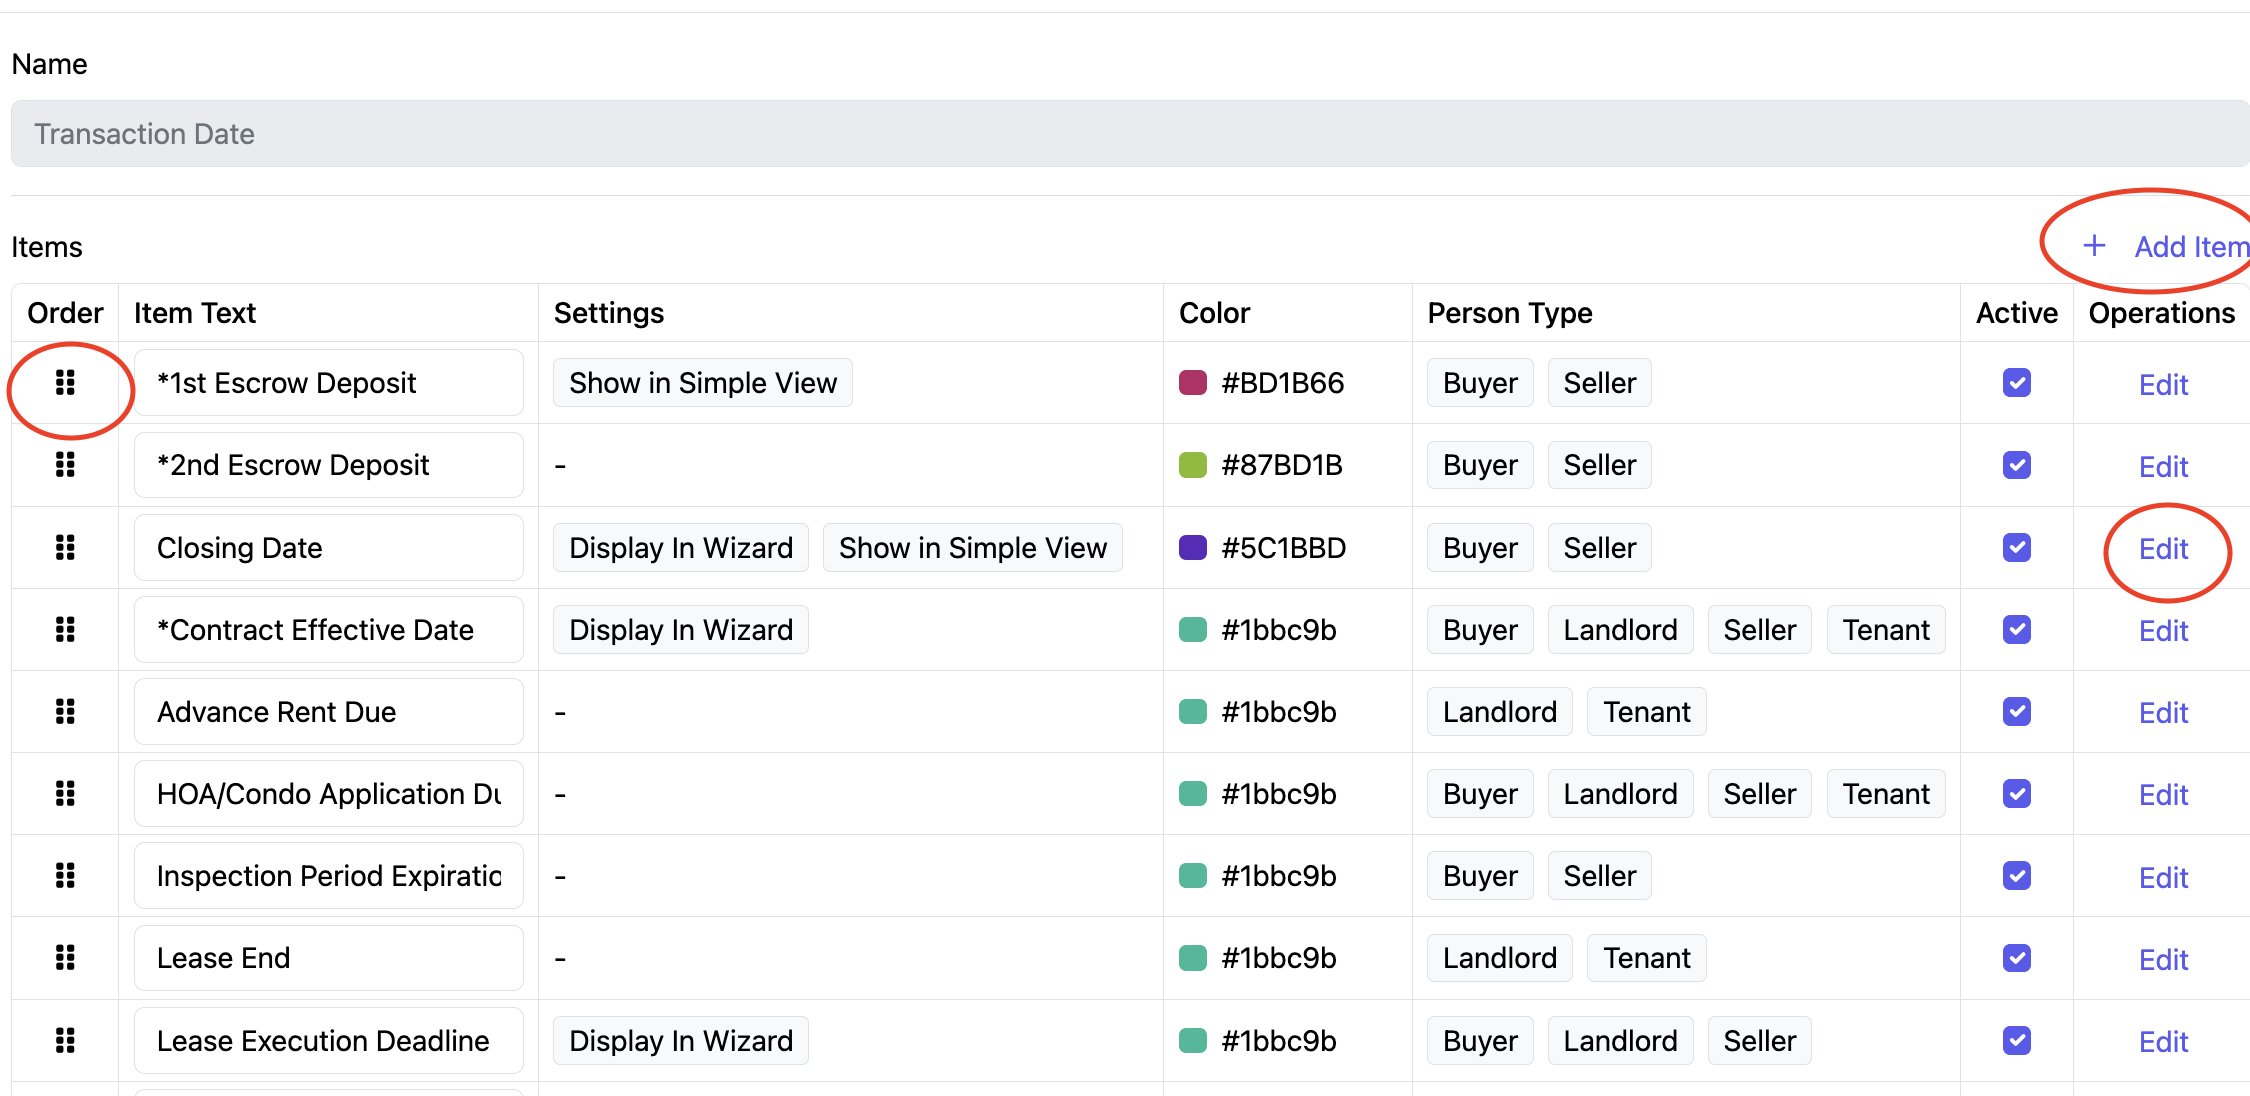
To add a new item, click +Add Item
To re-arrange the displayed order, use the icon in the Order column to drag and drop as needed.
To change Settings, click Edit.
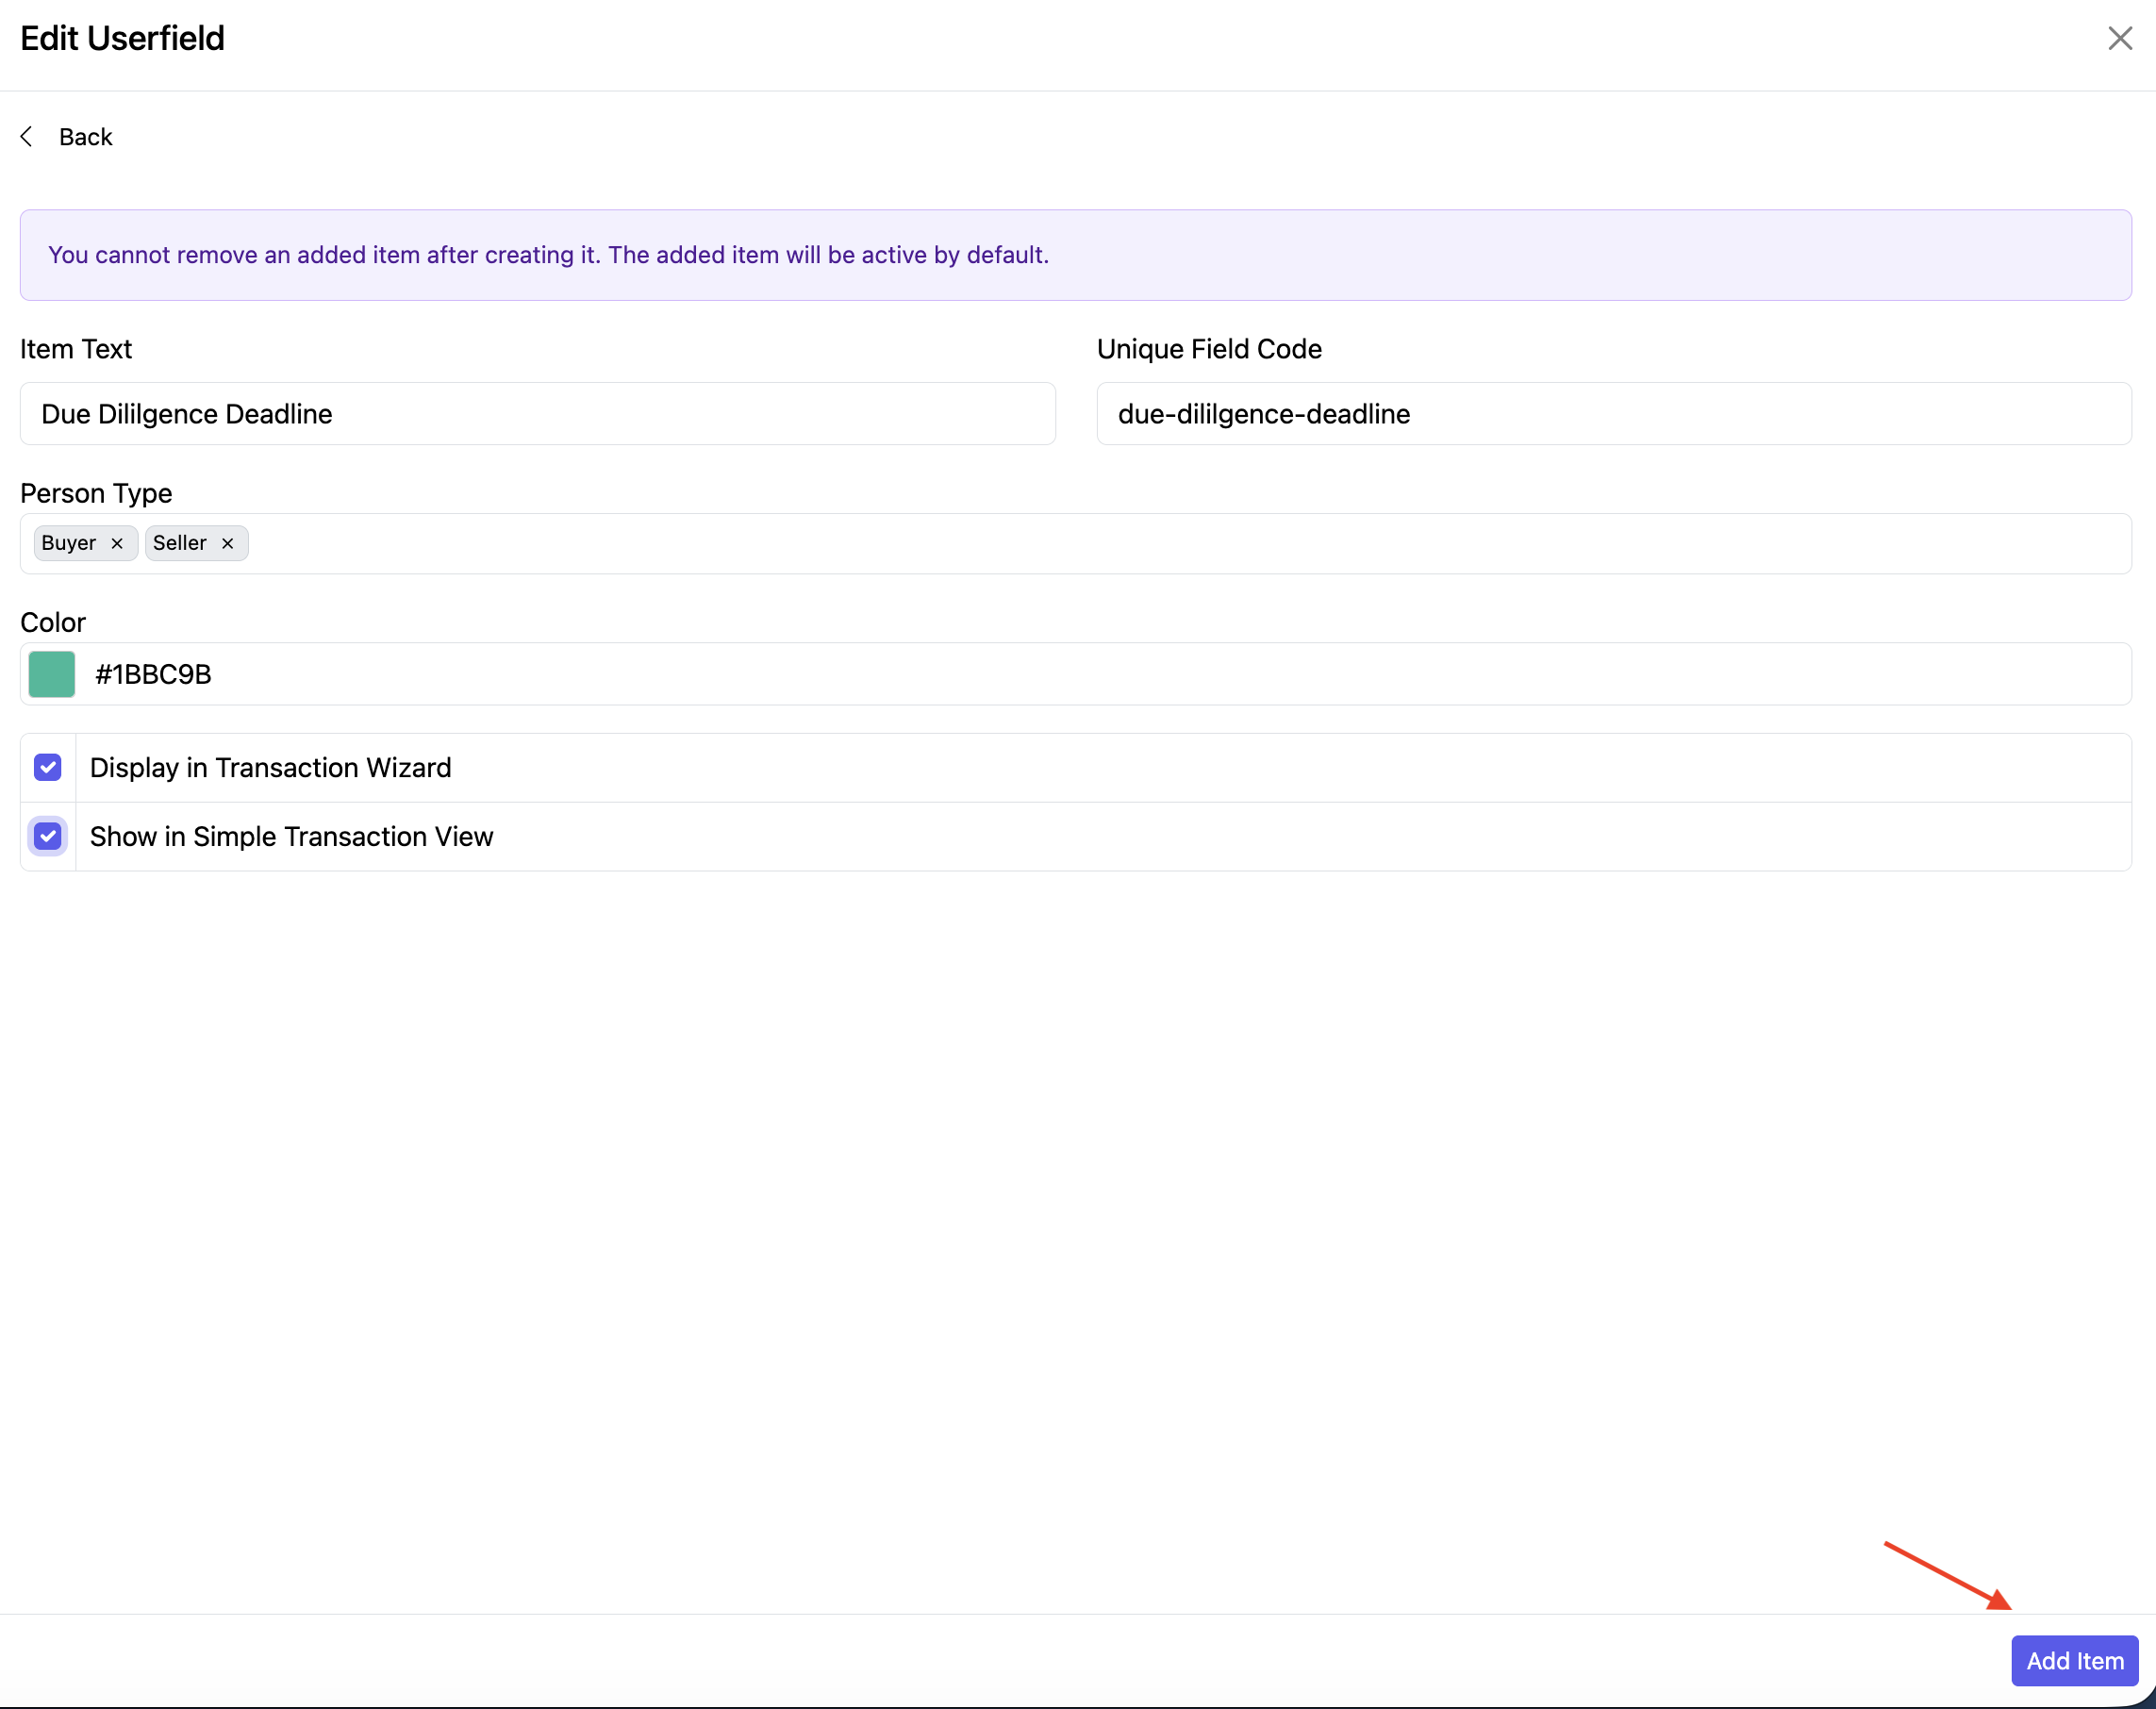
+ Add Item
- Type into the Item Text field.
- Click into Unique Field Code and the code will automatically generate.
- Person Type is a required field. Choose from the dropdown menu: Buyer, Seller, Landlord, Tenant.
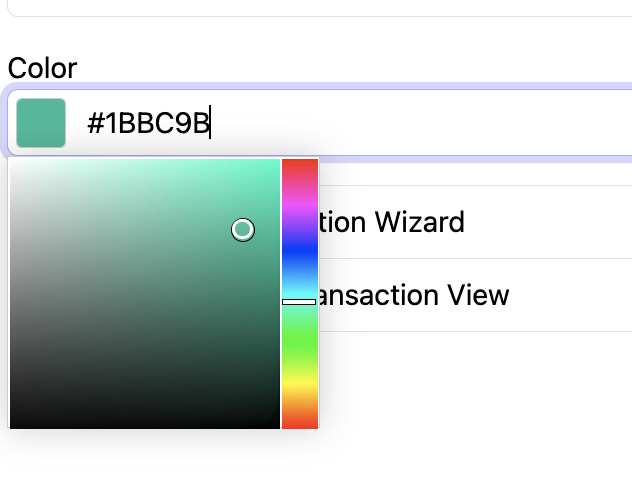
- Choose the Color by clicking on the field, then move the slide bar and/or curser to select., or enter the color code.
- Choose to Display in Transaction Wizard (CLICK HERE for Wizard Questions Instructions)
- Choose to Show in Simple Transaction View (CLICK HERE for Simple View Instructions)
- Click the blue “Add Item” button to save the field.
Once finished adding or editing fields, click Save.
ACTIVE AND INACTIVE USER FIELDS
Fields are Active when it is checked.
If you want to make a field no longer active (or no longer appear as an option), click to Uncheck the box in the Active column. Click “Save”.

NOTE
Once a User Field has been created, you cannot delete it (in accordance with our "retain everything" approach).